

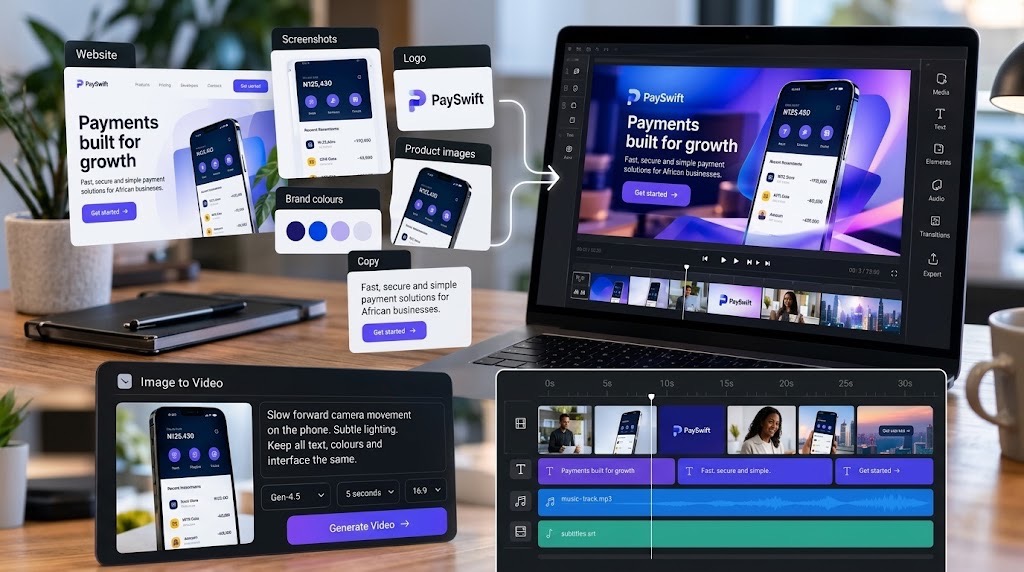
The strongest AI launch videos use AI mainly for motion and visual treatment while keeping the real product, interface, branding and claims anchored to assets the business actually owns.
You probably already have enough material to make the video
A product launch video no longer has to begin with a camera. For a startup or small business, the raw material may already exist: a homepage, product interface, screenshots, logo, photographs, customer-facing copy, brand colours and perhaps a few illustrations.
AI is most useful here when it turns static material into movement, rather than replacing those assets with invented ones. If your application dashboard exists, show the real interface. If you sell a physical product, start with a genuine photograph. AI can add camera movement, depth and atmosphere without quietly changing what customers will receive. That follows the same principle as TechView Africa's guide to creating professional product images with AI without misrepresenting what you sell.
Start with an asset pack, not a giant AI prompt
Create one folder containing:
- your highest-quality logo;
- brand colours and fonts;
- desktop and mobile screenshots;
- product photographs or renders;
- website captures;
- short pieces of approved marketing copy;
- verified numbers or testimonials worth showing;
- one clear call to action.
Remove anything outdated.
A 30-second launch film does not need 15 product features. It needs one message people can remember.
A useful structure is: Problem → product → what it does → evidence → call to action.
That is more controllable than telling an AI model to “make a cinematic video for my startup” and allowing it to invent the story.
Build the scenes before generating video
For a 30–45 second film, six scenes may be enough:
0–5 seconds: problem or opening statement. 5–10 seconds: logo or product reveal. 10–18 seconds: real interface or product. 18–27 seconds: second feature or use case. 27–35 seconds: evidence or differentiator. 35–45 seconds: product name, website and call to action.
This also distinguishes the process from TechView Africa's guide to turning a script into a finished AI video. That workflow starts with a script. This one starts with visual assets the business already owns.
Animate the real asset before generating a replacement
Current image-to-video systems can begin from an uploaded image. Adobe Express supports starting images for generated video, while Runway's image-to-video workflow is designed around describing the desired movement after supplying the source visual. That gives you a useful prompting rule.
If the interface already exists, do not prompt:
Create a futuristic blue fintech dashboard.
Upload the genuine screenshot and specify:
Slow forward camera movement toward the interface. Subtle depth between foreground cards. Preserve all text, colours, logo and interface layout.
For a product photograph:
Slow clockwise camera movement. Soft studio reflections. Preserve product shape, packaging, colour and branding.
The more important an asset is to product accuracy, the less freedom the AI system should have to redesign it.
Now assemble the clips in a normal video editor
AI-generated clips are ingredients. The final launch film still needs a timeline where you decide what appears, for how long and in what order.
You do not need professional editing experience to do this.
CapCut: easiest place to start
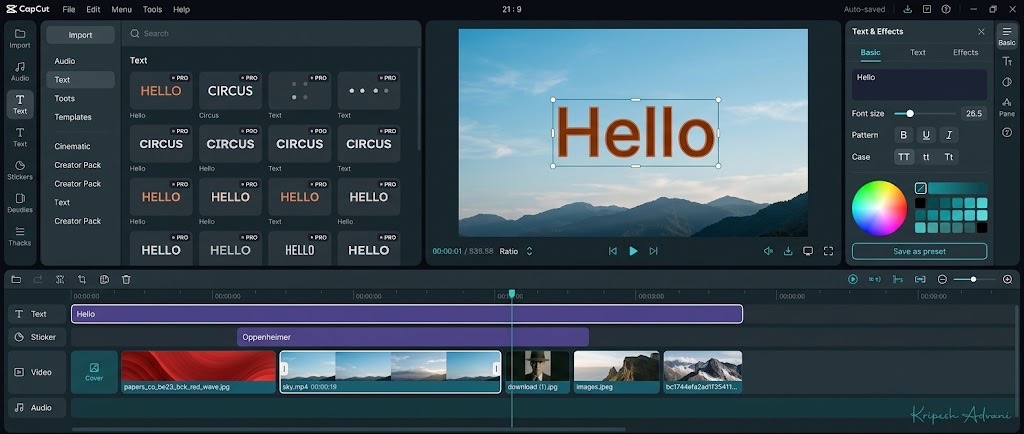
CapCut is useful if you want straightforward timeline editing on desktop or mobile. Create a new project, Import your generated clips, drag them onto the timeline in scene order, trim each clip by dragging its edges, and use Split when you need to cut something. Add text, music and restrained transitions, then select Export and choose your resolution. CapCut's desktop version supports controls for resolution, frame rate and bitrate. For many first-time editors, this is the simplest complete workflow.
Canva: best if your brand assets already live there
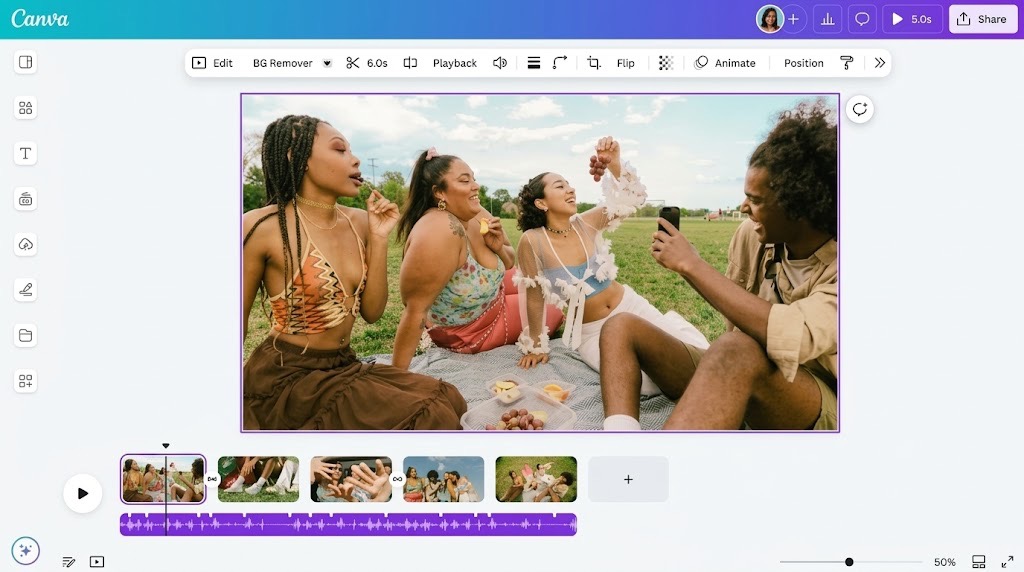
Canva makes particular sense for teams already using it for logos, social graphics and brand templates. Start a video project, upload your AI clips and images, place the scenes in sequence, then add your existing fonts, colours, logo and text. Canva's video editor supports dragging media onto a timeline, trimming, splitting and rearranging clips. It is especially convenient when visual brand consistency matters more than advanced editing controls.
Adobe Express: simple scene-based editing
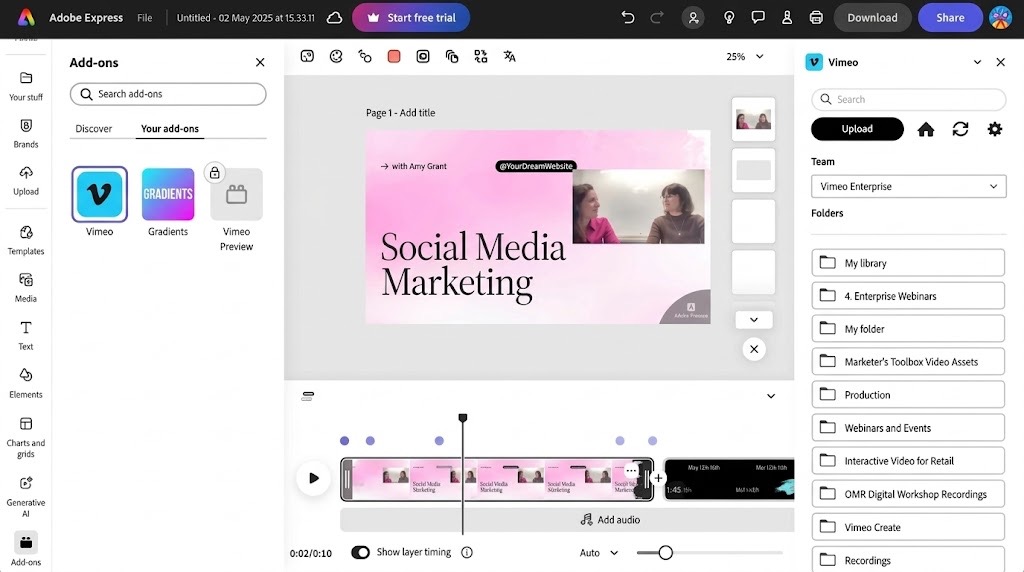
Adobe Express provides another relatively gentle entry point. Upload your first clip, select Edit video, then use Add media to insert additional scenes. You can reorder scenes, trim their duration, add text and graphics, and place audio on the timeline. This works well when the launch film is essentially a sequence of short branded scenes rather than a complicated edit.
DaVinci Resolve: use it when you want more control
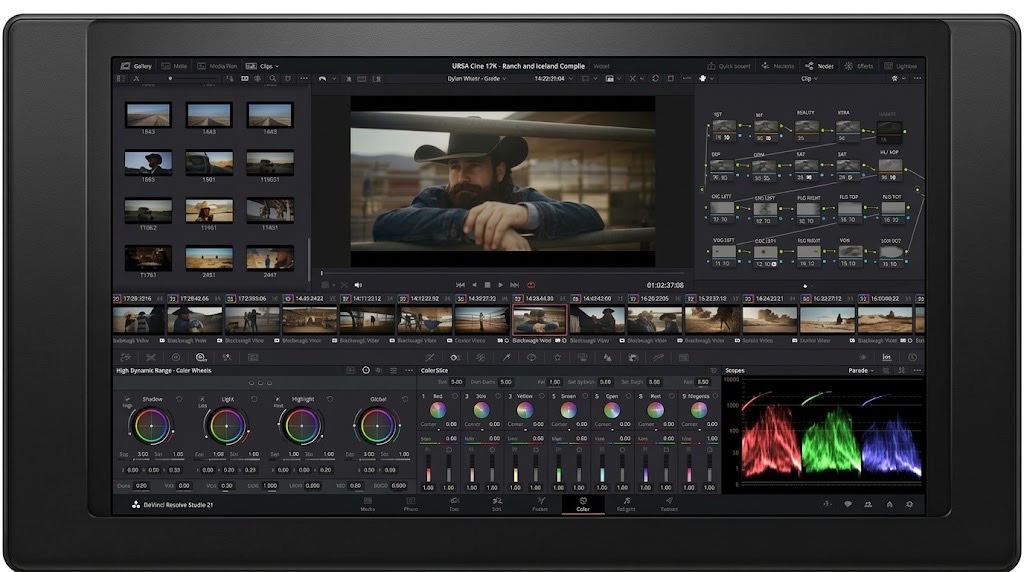
DaVinci Resolve has a steeper learning curve, but it gives considerably more control over timing, audio, colour and finishing. Import your generated clips into the Media Pool, drag them onto a timeline, trim and reorder them, add titles and audio, preview the full edit, then use Quick Export or the Deliver page to produce the final file. Blackmagic's beginner documentation includes Quick Export presets for common web and social destinations.
For a first 30-second startup film, Resolve may be unnecessary. It becomes more useful when launch-video production becomes a repeated part of the company's marketing.
Add branding after the AI generation
Use the editor not the generative model for critical text whenever possible.
Add:
- headlines;
- genuine interface labels;
- your logo;
- website address;
- prices or statistics;
- captions;
- final call to action.
Generative video can distort typography. Conventional editors give you precise control over spelling, positioning, fonts and timing. Do not animate everything. Motion appears more deliberate when some elements stay still.
Make one master version, then resize it
Build the primary film first. Then produce versions for:
16:9 — websites, YouTube and presentations 9:16 — Reels, TikTok and Shorts 1:1 or 4:5 — social feeds
Check every version manually. Automatic cropping can remove interface controls, product details, logos or important text.
Check the product against the video before publishing
Place the completed film beside your original assets and look for anything AI changed.
Check that it has not:
- invented a feature;
- altered the interface;
- changed product colour or shape;
- distorted packaging;
- created fake text;
- changed the logo;
- introduced unsupported claims.
A product launch film should make the real product easier to understand and remember.
Our Recommendation
For a first launch video, use AI for motion and visual treatment, then use CapCut or Canva for assembly and branding. Move to Adobe Express or DaVinci Resolve when your workflow requires different or more advanced controls.
Start with six strong real assets rather than generating an entire imaginary brand world. The result is easier to control, cheaper to produce and considerably harder for AI to misrepresent.
Sources & Verification
Adobe Express — Getting Started With Video Editing
CapCut — Desktop Video Editing Workflow
Frequently asked questions
Can I create a product launch video with AI without filming anything?
Yes. If you already have screenshots, product photos, a logo, website captures and brand assets, those can become the visual foundation of the video. AI can add motion and transitions, while a conventional editor handles the final sequence, text, music and branding.
Which video editor is easiest for beginners?
CapCut is usually the simplest place to start because its timeline, trimming and export controls are easy to understand. Canva is also a good choice if your brand colours, fonts and graphics already live there.
How long should an AI product launch video be?
For most startups and small businesses, around 20–60 seconds is enough. The video should establish the problem, reveal the product, show a few important benefits and end with a clear call to action without stretching the message unnecessarily.
Should I let AI generate my product interface or screenshots?
Not if the real interface already exists. Use genuine screenshots and let AI animate them. This reduces the risk of showing buttons, features, text or results that the actual product does not contain.
Do I need to use one AI tool for the entire video?
No. A more reliable workflow often combines tools. You can use an image-to-video model for motion, then assemble and finish the video in CapCut, Canva, Adobe Express or DaVinci Resolve.
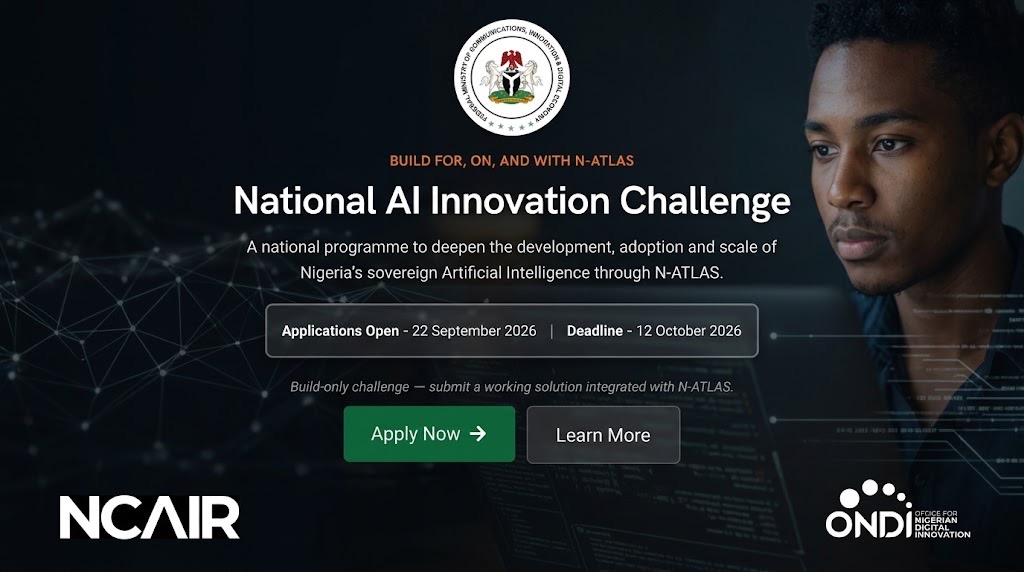
How to Apply for Nigeria’s National AI Innovation Challenge 2026
A Script Is Not a Video Prompt: How to Turn One Into a Finished AI Video
How to Use AI to Strengthen Your LinkedIn Profile for Remote Roles

How to Build a Strong Profile for Remote AI Training Jobs

Data Analysis, Cybersecurity or Cloud: Which Has the Friendliest Entry Point for Beginners
Can You Start a Tech Career Using Only a Smartphone?

We Checked 200 Remote AI Jobs: These Roles Explicitly Accept Applicants From Africa
Follow TechView Africa on WhatsApp
Get TechView Africa updates on WhatsApp. Follow our channel for practical technology news, product guides and digital trends from Nigeria and across Africa.
Leave a comment
Comments cannot be edited or deleted after posting. Please review your comment before submitting.
No comments yet. Start the conversation.